Quilting, sewing pieces of colorful patchwork squares together to make a thick blanket, has gotten a, let’s say, “old-fashioned” reputation in recent times. A quick trip to upscale stores such as Pottery Barn and Anthropologie show that quilts themselves are more popular than ever.
When my trusty old comforter literally tore into shreds this past summer after washing one too many times, I wondered if I couldn’t save some money and still get a vintage-sweet quilt by sewing.
The actual processes of quilting is a simple one in theory, the most fundamental of all sewing techniques – cut squares, sew them together. The fabric stores are brimming with gorgeously colored and printed cottons made specifically for quilting, and possessing a rotary cutter and mat, I knew I could make my quilt easily.
Step one of quilt making involves some basic high-school geometry and arithmetic. I knew I wanted my patches to be 12 by 12 inch squares, and a 92 by 92 inch quilt. That meant eight rows of eight squares. Simple enough, but then I needed to calculate how many yards to buy of each fabric.
Whether I was overtired or simply impatient, I decided upon one yard of eight different fabrics, which proved to be an educated but mostly just lucky guess.
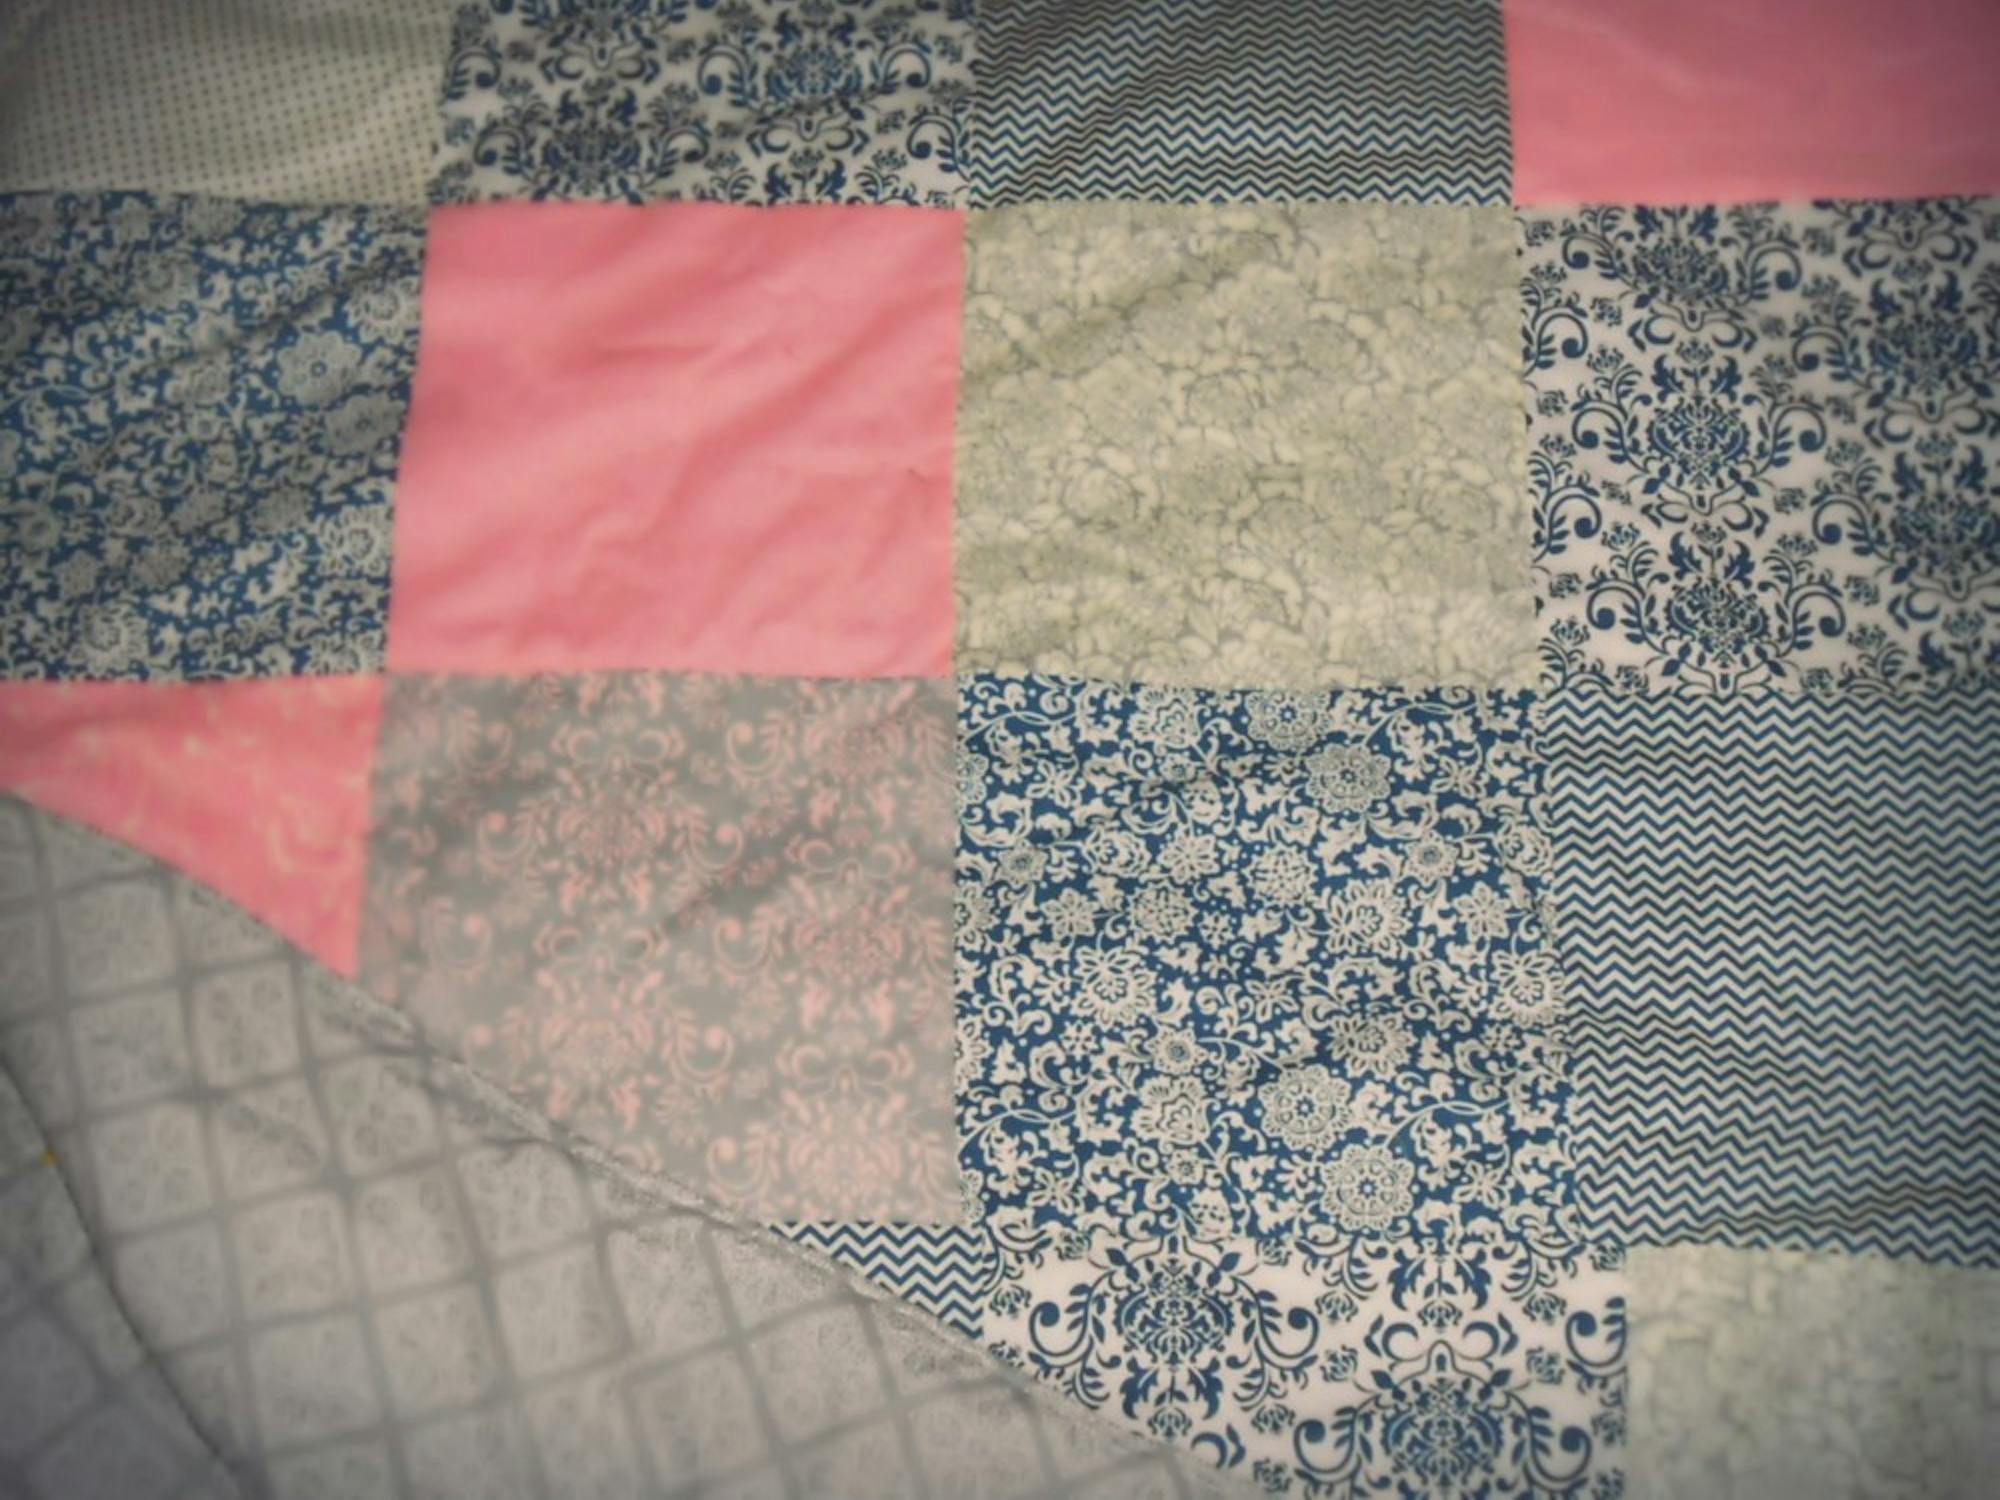
I chose eight different fabrics in four color-families – light pink, gray, navy and cream. Play around with balances and shades to see what looks good together; I’ve found that choosing a large-scale print and a small-scale print in each color family makes a nice balance, but there really are no rules except get what you love. My fabric was on sale for $2.49 per yard, so the total so far equals a mere $20.
The technical instructions are fairly straightforward. I used a 12 by 12 inch piece of heavy scrapbook paper as my cutting guide for the squares. Once the squares are cut, clear the floor and lay down the squares to find a pattern you like. I choose a “controlled random” where the same squares are not next to or diagonal from each other. Mark each square with a number using chalk and sew pairs of squares together, then sew together pairs and then rows to form the quilt top.
Press seams open.
I then laid out the quilt backing, a large piece of fabric coordinating with the patches. Lay the batting – the fluffy inner layer of a quilt – on top of it, then the quilt top on the batting to make a sort of three-layer sandwich.
If I had planned better, the quilt backing would have been about four inches bigger on each side than the batting and quilt top so I could simply fold it over and seal all the layers together, but instead I had to make a carefully rolled hem around the perimeter of the quilt. A few hand stitches placed throughout the quilt held the layers together in the middle to reduce the risk of the batting clumping and shrinking.
The grand total: batting cost me $10 with a coupon, and backing material with gray and cream print cotton was an additional $20, bringing my cost to $50. This was more than I had intended to spend, but still less than I would have spent at a home store. Plus, it was custom.
My quilt doesn’t have stars made from triangles or patches that look like windmills. But it’s in the simplicity of the basic with blocky squares in sophisticated prints like damask, chevrons and polka dots that make it look fresh.
Should you attempt to tackle the sewing of a quilt large enough to cover your bed? If you have the right tools like a rotary cutter with a mat, a sewing machine and a good dose of patience. It’s well worth the effort for an item that could at best become a family heirloom 50 years from now – or at worst, a well-worn beloved picnic blanket next summer with a story to tell.